Evening Glow / Light My House Nº 01
The Night Portrait

See your home after dark, before you spend a dollar.

One photo. Our AI reads it and returns a real landscape-lighting plan: what to light, how to light it, and the exact fixtures to build it yourself or hand to a pro.

or skip the photo

Your photo is analyzed by our AI provider to create your plan. We don't store it.

Designed like a pro
Grazing, moonlighting, layered contrast — IES & AOLP conventions, not guesswork.
Real fixtures & prices
Solid-brass, contractor-grade parts from the live Evening Glow Pro Supply catalog.
Yours to build or hand off
Buy the DIY kit, or have Evening Glow install the whole thing.
In three steps

How it works

i
Share a photoOne clear shot of the front, the yard, or the patio you want lit.
ii
Get your designA zone-by-zone plan with techniques, color temperature, beam angles, and the reasoning behind every choice.
iii
Light it upBuy the exact DIY kit, or have Evening Glow install it. Either way, no guessing.
Tap to learn the approach

What do you want to light?

The real technique for each part of a property, in plain language — worth a look whether or not you upload today.

Curb appeal & entry
Security & safety
Trees & landscape
Paths & steps
Patio & entertaining
Water & pools
Holiday & seasonal
The photo you added
A few quick questions

So the plan fits you, not a template.

The look you want
How much light?
What matters most?
The property
Your ZIP (optional — tailors the plan to your area)
Who's installing?
Color feel
Parts budget (optional — the design is driven by the property, this only picks the fixture tier)
Reading the light in your photo…
Finding the architecture — gables, columns, facade, trees
Choosing techniques — uplight, graze, wash, moonlight
Studying viewing angles, depth & negative space
Matching Evening Glow fixtures, beams & counts

Designs usually land in 15 to 30 seconds. A busy moment can take a little longer.

Nº 01 — The night portrait of your home
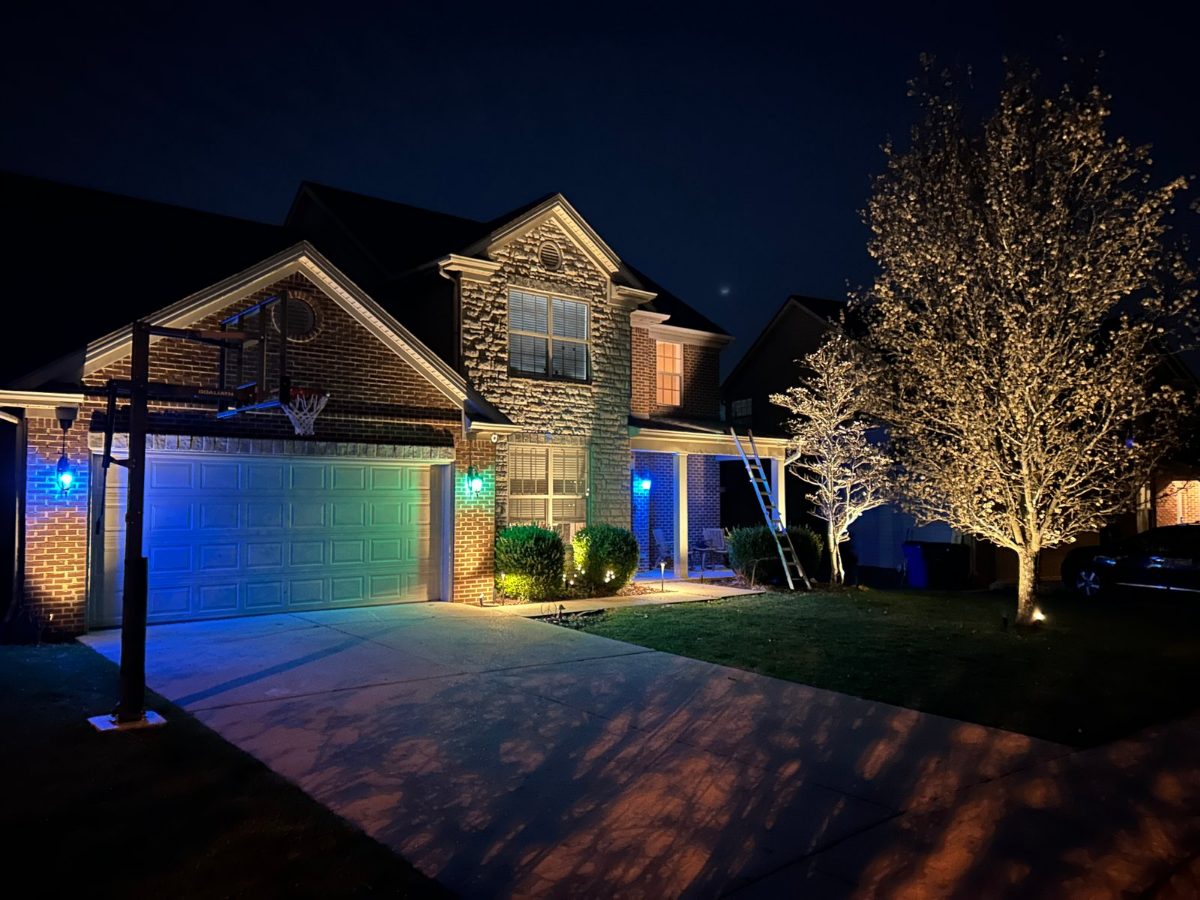
Your home during the day Your home rendered at night with the proposed lighting Day Night

Drag to compare day and night. Fixture placement here is an AI starting point — Evening Glow confirms the final design, aiming, and exact placement on-site before anything is installed.

Fixtures
Design zones
$—DIY parts
Feature → technique → why

Your lighting plan

Every fixture is placed to reveal something specific and hide its own source. Nothing is lit "just because."

Dive deeper if you want

Lighting 101, the short version

Everything below is optional reading. The plan above already applies it.

Beam angles: what the degrees actually do
The beam number is the cone of light. Narrow (10–15°) throws a long, tight column — that's how you get light 30+ feet up a tall tree trunk without spraying the neighborhood. Medium (24–38°) is the workhorse for facades, columns, and mid-size trees. Wide (60°) floods low and wide for beds and low walls, and dies quickly with height. Real math: a beam's circle of light is about 2 × distance × tan(angle ÷ 2) — a 15° spot at 20 ft paints a tight ~5 ft circle; a 60° wash at the same distance covers ~23 ft.
Matching the fixture to the height
Under 10 ft (shrubs, small ornamentals): wide wash, low wattage. 10–20 ft (small trees, single-story facades): ~35–38°. 20–35 ft (mature trees, two-story gables): ~24°. Over 35 ft (big oaks and maples): narrow 10–15° spots, often two per tree — one on the trunk, one into the canopy. When a tree gets both, the trunk light anchors it and the canopy light gives the glow.
Color temperature: 2700K vs 3000K
2700K is warm candlelight — it flatters brick, wood, stone, and brass, and it's the default for homes. 3000K is a cleaner warm white that suits modern facades, white trim, and contemporary landscapes. Cooler than that reads commercial outdoors. Mixing temperatures on one property is the most common amateur tell — pick one and stay with it.
The techniques designers actually use
Uplight: fixture at the base aiming up — trees, columns, facades. Graze: tight to a textured wall so the light rakes across brick or stone. Wash: pulled back for soft, even coverage. Moonlight: fixture mounted high IN the tree aiming down through branches — dappled, natural pools on the ground (the premium look for big trees over patios and drives). Silhouette: light the wall behind a plant, keep the plant dark. Path light: low, shielded, every 6–8 ft, alternating sides — never a runway.
Why the wiring math matters
Low-voltage systems lose voltage over distance (resistance in the wire). Push ten fixtures down a long thin wire and the far ones run dim and orange. The fix is engineering, not luck: 12-gauge direct-burial wire, runs sized with the actual voltage-drop formula, and a transformer loaded to about 80% of its rating. The wiring spec below did that math for this exact plan.
The reasoning

How it reads at night

Biggest impact first

Where to start

    The principles behind it

    Why these choices

    The same rules a seasoned designer works by — worth knowing whether you build this yourself or hire it out.

    iShow the light, not the source.Glare is the number-one amateur tell. Shielded fixtures, set tight to the wall, hidden in branches — you see the glow, never the bulb.
    iiDesign in contrast, not brightness.Over-lighting is the most common mistake. Dark space is a design tool. A few well-aimed fixtures beat a wall of floodlight every time.
    iiiMatch the technique to the material.Graze textured stone and brick to throw shadow; wash flat stucco and siding to keep it smooth. Doing it backwards is what makes a house look cheap.
    ivOne color temperature, everywhere.Warm 2700–3000K flatters brick, wood and warm stone. Mixing Kelvin across an elevation reads patchy. Consistency beats the exact number.
    vBuy on lumens, optics and brass.Not watts. Solid brass lasts 10–15+ years and ages gracefully; cheap aluminum chalks out in three to five. The right beam angle matters more than raw output.
    Beyond the front facade

    Lighting the rest of it

    Field-tested guidance for the spaces most homes get wrong. Tap any to open.

    Curb appeal & the entry
    Uplight the anchors — corners, columns, gables, chimneys — with medium spots. Make the front door the clear focal point so guests know where to go. Layer in an uplit specimen tree or an eave downlight for depth. Keep it roughly symmetrical and warm. Trap: a single flood on the garage flattens the whole front — spread the same light across several low-wattage fixtures instead.
    Security & safety
    Layered, even coverage beats one glaring floodlight (which just creates dark hiding pockets and blinds you). Build a perimeter of protection: overlapping motion LEDs at entries and blind corners, mounted 8–12 ft high and angled down to cut glare. Combine always-on low path light — so the property reads occupied — with motion triggers for alerts. Warm, shielded, downward light deters better than harsh blue and stays neighbor-friendly.
    Trees, shrubs & garden beds
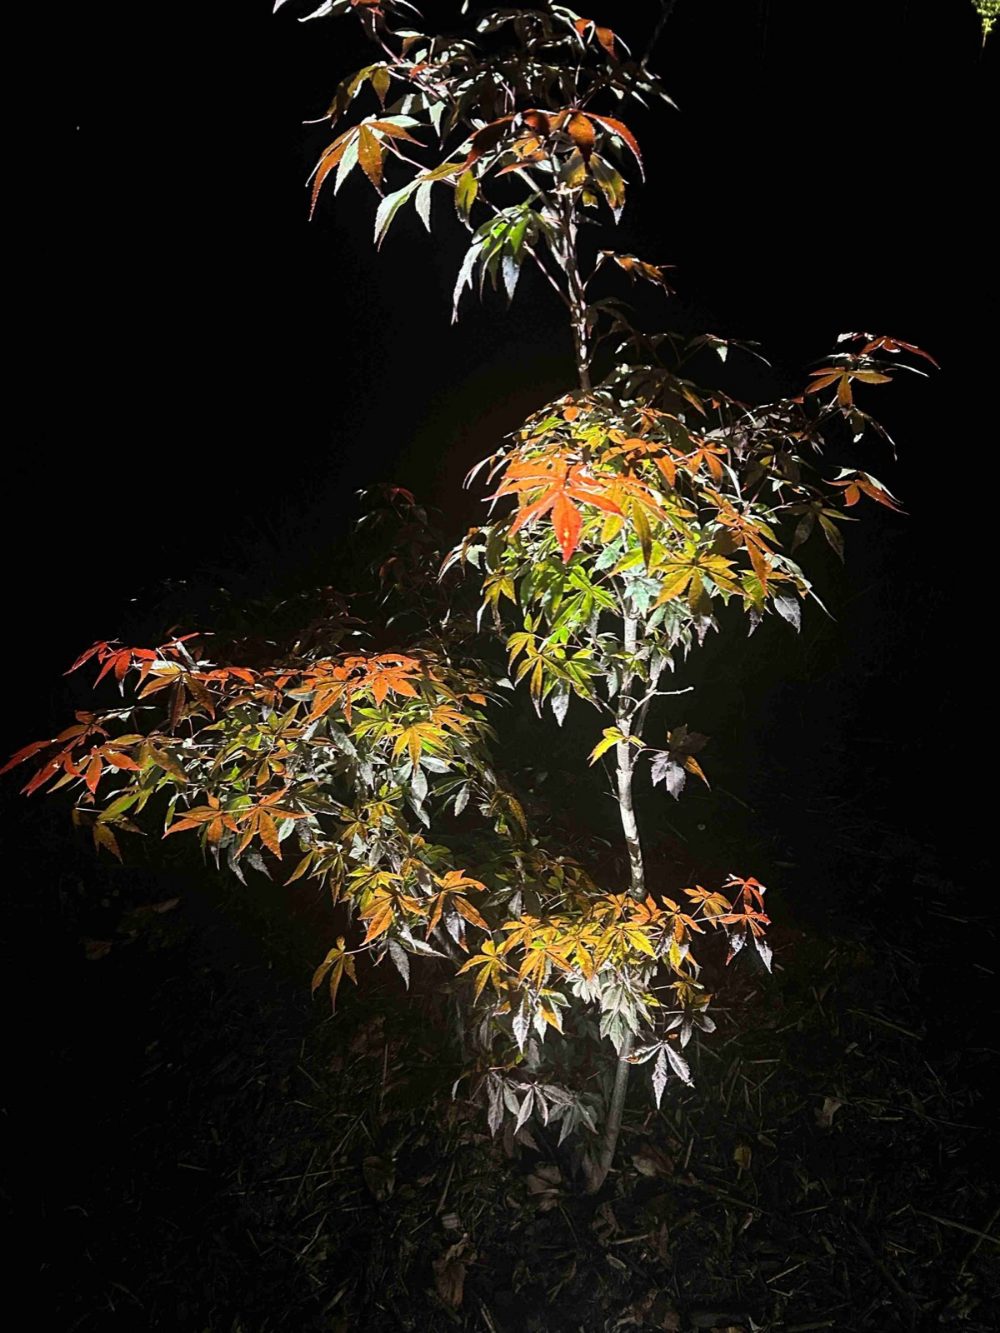
    Uplight specimen trees with 2–3 fixtures placed 1–3 ft from the trunk, aimed into the canopy to reveal structure. For a magical, natural effect, moonlight: shielded downlights high in mature branches drop dappled shadow to the ground. Stagger bed lights for depth rather than a straight line. Warm color keeps foliage looking healthy — harsh cool light greys plants out. Re-aim as everything grows.
    Pathways, steps & the driveway
    Gentle guidance, not a landing strip. Space path lights ~6–10 ft apart and stagger / alternate sides to avoid the "runway" effect. Every fixture casts light down onto the surface with a shielded top — the bulb never shines in the eye. Prioritize every step, turn and grade change; recessed riser lights in stair faces. Mistake: too many, too bright, too evenly spaced erases the landscape's natural look.
    Patio, deck & entertaining
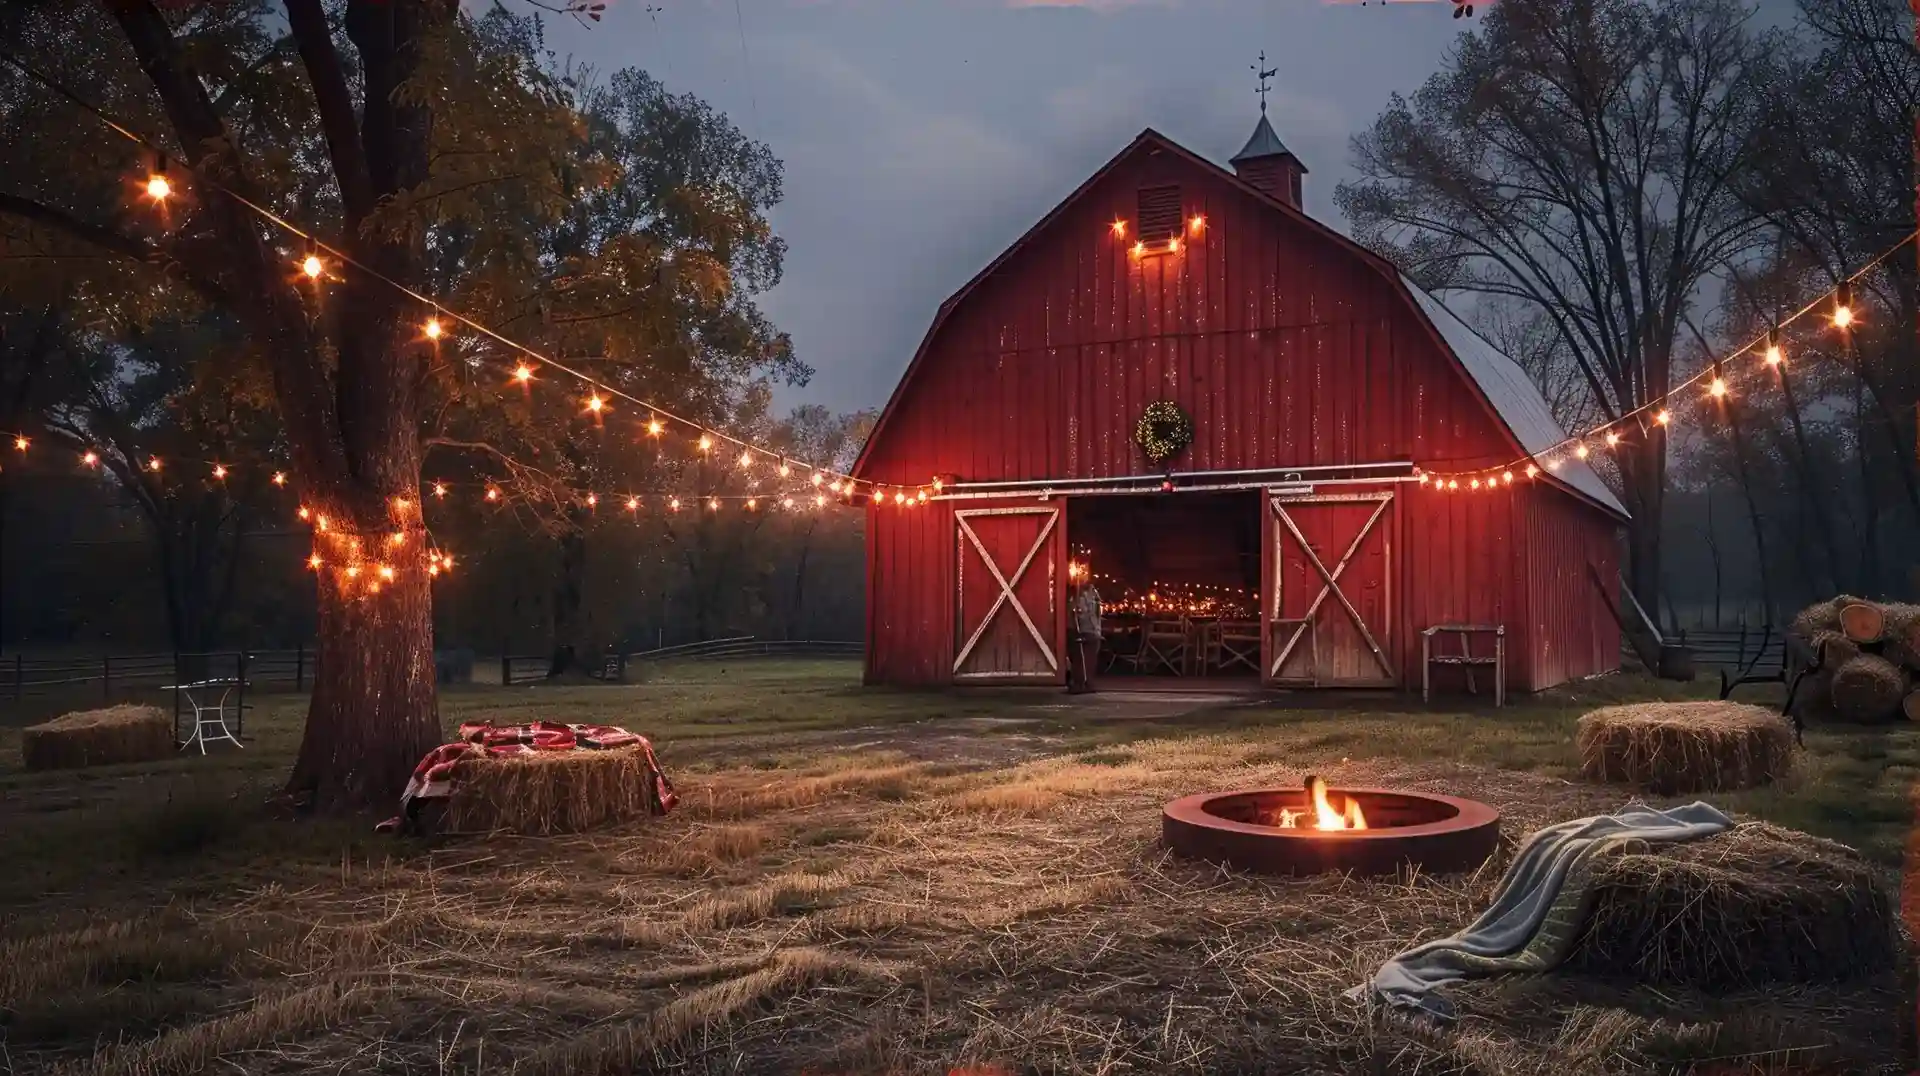
    Layer three levels, all on dimmers, all warm. Overhead ambient: bistro / string lights through a pergola or spanned across. Task & safety: recessed step-riser lights, rail-cap and post lights, under-bench glow at the grill. Accent: wash the back of the house or graze a privacy wall to give the space "walls" of light. No bare bulb should glare at a seated guest — a low warm glow is far more inviting than flood-level brightness.
    Water features & pools
    Safety first — clearly outline the pool edge, steps and exits. Pools use recessed wet-niche LEDs; spec corrosion-resistant brass or stainless. Ponds and fountains glow from submersible lights inside the feature, with overhead moonlighting for shimmer on the surface. Line-voltage, GFCI and bonding here are licensed-electrician territory — not a DIY zone. Clean warm white is the timeless default; save color for occasions.
    Holiday & seasonal
    Keep the permanent architectural system as the warm base layer and treat holiday lighting as a removable overlay that never fights it. Give holiday circuits their own zone and timer so they don't overload the landscape transformer. A permanent track-style RGBW roofline (hidden in a channel, app-controlled) gets you holiday color without annual ladder work — then switch back to warm white the rest of the year.
    The wiring that makes it last
    Standard 12V low voltage, stepped down by a transformer loaded to about 80% so it runs cool and has room to grow. Voltage drop is the number-one technical enemy — keep every fixture within 10% of rated voltage using 12-gauge direct-burial wire and the hub method, not one long daisy-chain that starves the far end. Only gel-filled connectors outdoors — never indoor wire nuts. Put it on a dusk-to-dawn timer, and spec brass or copper near salt air and irrigation spray.
    Steer clear of these

    Avoid the amateur tells

    The handful of mistakes that separate a builder-grade job from a designed one.

    Two honest paths

    Build it yourself, or hand it off

    Once you buy quality brass, proper wire and a good transformer, a serious DIY build approaches the materials portion of a pro job. What a pro adds is labor and design skill — this plan hands you that design either way.

    Do it yourself

    Your parts list, below
    • 12V low voltage is safe to handle and shallow-buried
    • Buy brass, not thin aluminum — it lasts 10–15+ years
    • Size the transformer to ~80% load; use 12-gauge direct-burial wire
    • Only gel-filled connectors outdoors — never indoor wire nuts
    • You enjoy dialing in the aim at night

    Have Evening Glow install it

    Turnkey design + install
    • You're paying for the design eye: aiming, layering, glare control
    • A night demo, a labeled transformer with spare capacity, a warranty
    • Pools, water and any 120V work is licensed-electrician territory
    • Best when there's trenching, long runs, or tall-tree moonlighting
    • Turnkey — nothing lands on your plate
    Materials · Evening Glow Pro Supply

    Your shopping list

    DIY parts total$—

    Fixtures plus one properly-sized transformer. Direct-burial 12-gauge wire, gel-filled connectors and stakes are sold separately. Prices are pulled from the live Evening Glow Pro Supply catalog — quality brass here beats a $150 big-box kit that fails in a few years.

    The full plan and shopping list, in your inbox. No spam, ever.
    Every recommendation here is generated by AI reading your actual photo.
    It's a strong starting point — Evening Glow confirms the final design and placement on-site.

    Something went sideways

    Please try again in a moment.